Release Management: Setup Jenkins without Root Access
Release Management: Setup Maven and GIT Client
Assumptions
- You have a Linux Machine or VM (with root access)
- I have used a Centos 6.5 VM for this demo
- You know how to use Putty and WinScp
- You have a basic understanding of Linux
- You have a 64 bit operating system
- You have a working Tomcat
- The fire walls have been opened allowing the machines to talk to each other
- You have a working knowledge of GIT and GITHUB
Identify the account that will be running Jenkins and log in to the Machine
If you are using a Brand new machine you may need to create a new user Account (use below Unix commands)
- # groupadd g_jenkins
- # useradd u_jenkins
- # passwd u_jenkins
- Changing password for user u_jenkins.
- New password:
- Retype new password:
- passwd: all authentication tokens updated successfully.
- # su – u_jenkins
- $
Download and Setup Java
You will need to download Java from oracle site
Use below Instructions:
We are going to install in the home directory of the User “u_jenkins”
- $ pwd
- /home/u_jenkins
- $ ls
- jdk-8u65-linux-x64.gz
- $ tar -xvf jdk-8u65-linux-x64.gz
We create a Link so that we do not need to type the full version every time
- $ ln -s jdk1.8.0_65 JDK
Running below command verifies that Java is installed and setup
- $ ~/JDK/bin/java -version
- java version “1.8.0_65”
- Java(TM) SE Runtime Environment (build 1.8.0_65-b17)
- Java HotSpot(TM) 64-Bit Server VM (build 25.65-b01, mixed mode)
- $
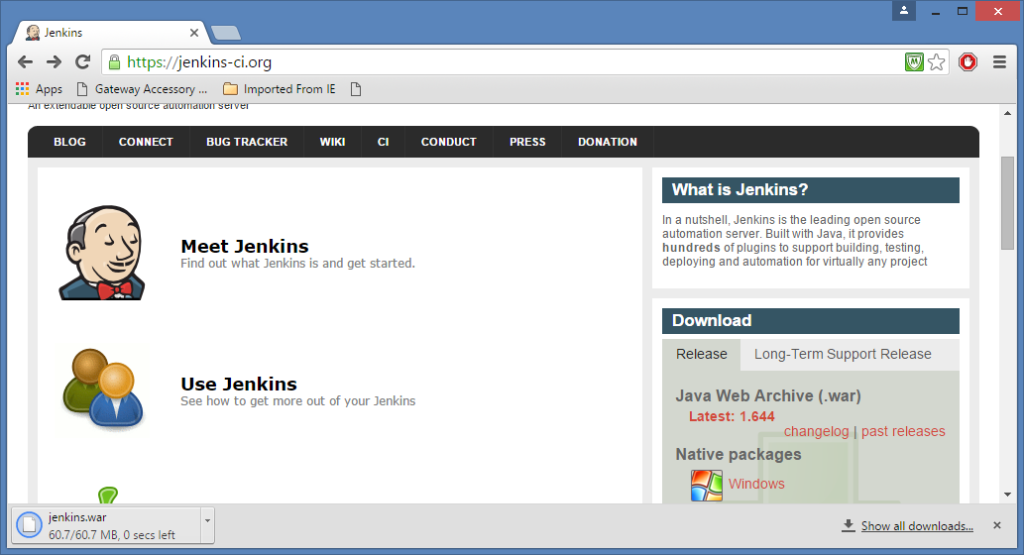
Download Jenkins
I downloaded 1.644 jenkins war as per screen shot below:
Setup Jenkins
Add the following lines to the “.bash_profile” to setup the environment.
- vi ~/.bash_profile
- export JAVA_HOME=/home/u_jenkins/JDK
- export JENKINS_HOME=/home/u_jenkins/JENKINS
- export PATH=$PATH:$JAVA_HOME:$JAVA_HOME/bin:$HOME/bin
Source the “.bash_profile”
- . ~/.bash_profile
We are going to create a New “JENKINS” folder and keep the war we downloaded
- $ pwd
- /home/u_jenkins
- $ mkdir JENKINS
- $ cd JENKINS
- $ pwd
- /home/u_jenkins/JENKINS
- $ ls
- jenkins.war
- $
Start Jenkins
Run the below command to start Jenkins, feel free to use a port of your choice ( or you can skip the port parameter all together)
- cd /home/u_jenkins/JENKINS
- /home/u_jenkins/JDK/bin/java -jar /home/u_jenkins/JENKINS/jenkins.war –httpPort=9550
We need to open the ports so that we can access our VM from Windows (you will need root Access)
- # service iptables stop
- iptables: Setting chains to policy ACCEPT: filter [ OK ]
- iptables: Flushing firewall rules: [ OK ]
- iptables: Unloading modules: [ OK ]
- # service iptables status
- iptables: Firewall is not running.
- # chkconfig iptables off
- # chkconfig iptables –list
- iptables 0:off 1:off 2:off 3:off 4:off 5:off 6:off
- #
What is the IP Address of my Linux Host?
Once you find out the IP address of the Linux host you will be able to access it from Windows (putty) or browser
- $ ip a
- 1: lo: <LOOPBACK,UP,LOWER_UP> mtu 16436 qdisc noqueue state UNKNOWN
- link/loopback 00:00:00:00:00:00 brd 00:00:00:00:00:00
- inet 127.0.0.1/8 scope host lo
- inet6 ::1/128 scope host
- valid_lft forever preferred_lft forever
- 2: eth1: <BROADCAST,MULTICAST,UP,LOWER_UP> mtu 1500 qdisc pfifo_fast state UP qlen 1000
- link/ether 08:00:27:ea:16:19 brd ff:ff:ff:ff:ff:ff
- inet 192.168.1.16/24 brd 192.168.1.255 scope global eth1
- inet6 fe80::a00:27ff:feea:1619/64 scope link
- valid_lft forever preferred_lft forever
- $
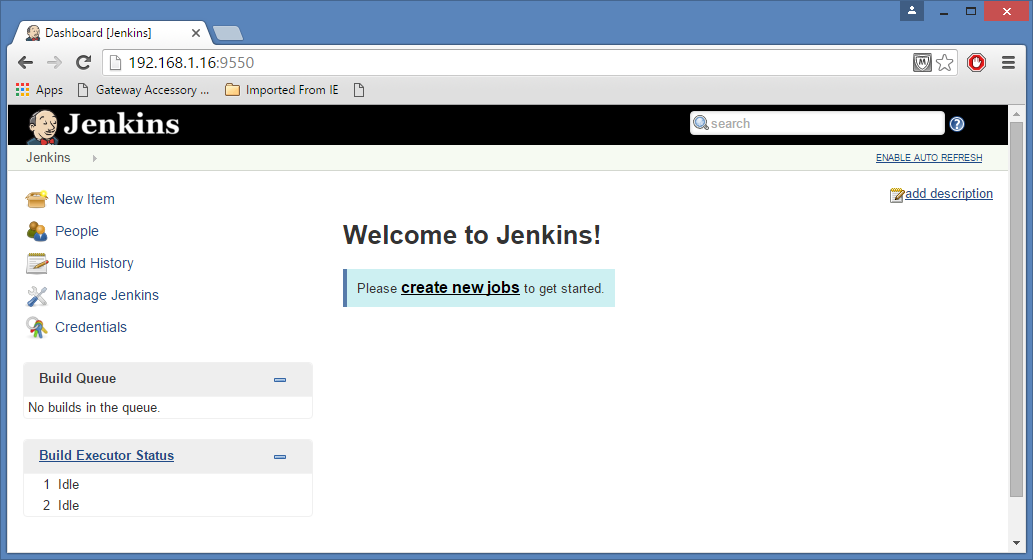
Verify that Jenkins is working
You will need to use the IP address that you found earlier and you will need to use the port that you used to start Jenkins.
In my case it was “http://192.168.1.16:9550”
Moving ON to Maven not that Jenkins is working
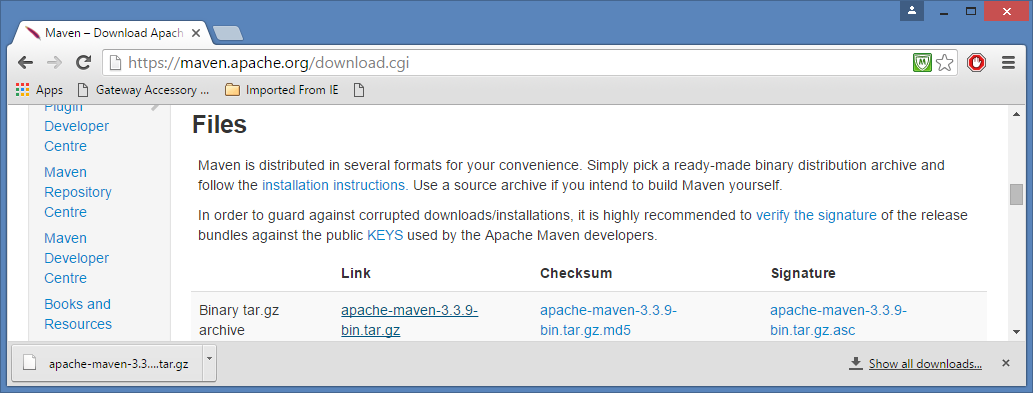
Download Maven
I downloaded “apache-maven-3.3.9-bin.tar.gz” for this example.
Please see the screen shot for more details:
Extract and Setup Maven
Unzip the Tar Files
- $ pwd
- /home/u_jenkins
- $ ls -l apache-maven-3.3.9-bin.tar.gz
- -rw-rw-r–. 1 u_jenkins u_jenkins 8491533 Jan 18 17:22 apache-maven-3.3.9-bin.tar.gz
- $ tar -xvf apache-maven-3.3.9-bin.tar.gz
Create Links for ease of use
- $ ln –s apache-maven-3.3.9 MAVEN
Setup Environment Variables in the “.bash_profile” and source them using “.”
- vi /home/u_jenkins/.bash_profile
- export MAVEN_HOME=/home/u_jenkins/MAVEN
- export PATH=$PATH:$MAVEN_HOME/bin
- . /home/u_jenkins/.bash_profile
Run “mvn –version” command to verify that Maven is fully setup
- $ mvn -version
- Apache Maven 3.3.9 (bb52d8502b132ec0a5a3f4c09453c07478323dc5; 2015-11-10T11:41:47-05:00)
- Maven home: /home/u_jenkins/MAVEN
- Java version: 1.8.0_65, vendor: Oracle Corporation
- Java home: /home/u_jenkins/jdk1.8.0_65/jre
- Default locale: en_US, platform encoding: UTF-8
- OS name: “linux”, version: “2.6.32-431.el6.x86_64”, arch: “amd64”, family: “unix”
- $
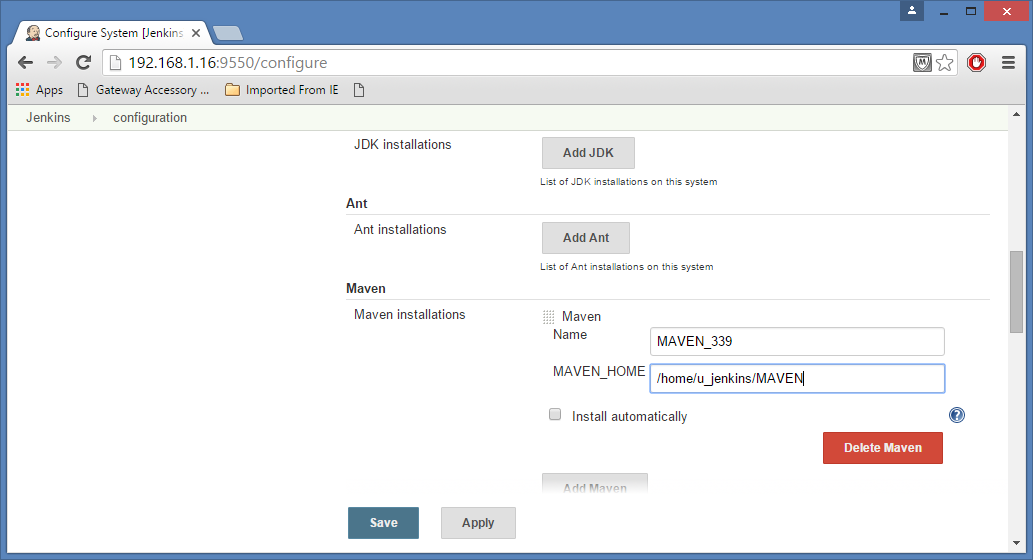
Tell Jenkins about Maven
- Navigate to Jenkins->Manage Jenkins -> Configure System
- Maven -> Maven Installations
- Name = Maven_339
- MAVEN_HOME=/home/u_jenkins/MAVEN
Download and Setup Git Client (On Machine with Jenkins)
- You will need Root Access
- Your Machine will need to be able to connect to the internet
You will have to follow the instructions on the below URL or something Similar
use Yum install to install the client and verify that it is working by running the git –version command
https://www.digitalocean.com/community/tutorials/how-to-install-git-on-a-centos-6-4-vps
Below Commands will Install Git Client
- sudo yum install git
- $ git –version
- git version 1.7.1
- $
Below Commands will setup the default Git Configuration
- $ git config –global user.name “Pathik Paul”
- $ git config –global user.email “pathikpaul@example.com”
- $ cat ~/.gitconfig
- [user]
- name = Pathik Paul
- email = pathikpaul@example.com
- $
We will use GitHub as the Source Reposity
Connect Git Client (on our Machine with Jenkins) with GitHub so that you can update GitHub by running commands here
There are many alternatives to this, you can follow the instructions here.
Ref: https://help.github.com/articles/create-a-repo/
Ref: https://help.github.com/articles/working-with-ssh-key-passphrases/
Please follow the instructions on GitHub to set up your own account on GitHub and create an empty project .
Generate a public key and private key
- $ ssh-keygen
- Generating public/private rsa key pair.
- ::::
- Your public key has been saved in /home/u_jenkins/.ssh/id_rsa.pub.
- :::::
- $
Runs a SSH Agent which will be used by Github/Git to connect to your machine
https://en.wikipedia.org/wiki/Ssh-agent
- $ ssh-agent
- SSH_AUTH_SOCK=/tmp/ssh-GGUyiv3761/agent.3761; export SSH_AUTH_SOCK;
- SSH_AGENT_PID=3762; export SSH_AGENT_PID;
- echo Agent pid 3762;
- $
Store the public Keys from your machine into your account on GitHub by following the instructions in above Page.
Ref: https://help.github.com/articles/generating-ssh-keys/
Please read the Git Hub page above for the details.
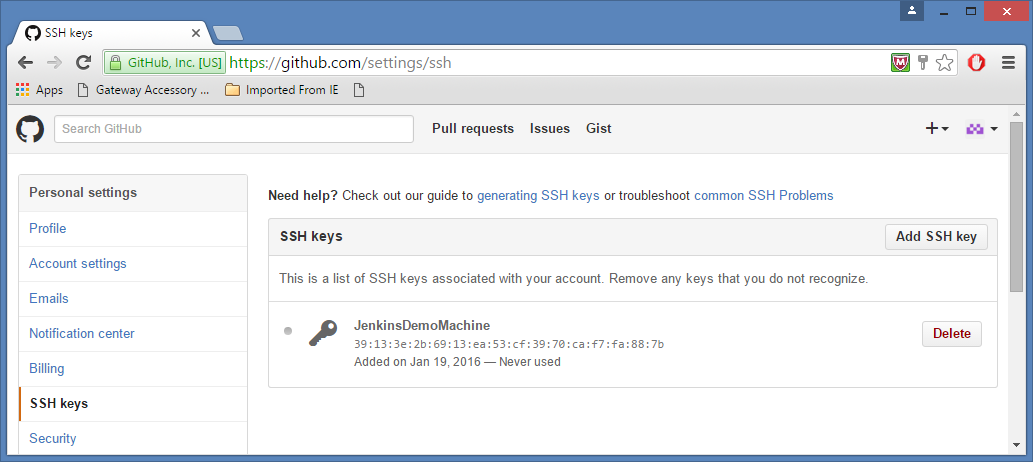
Test that SSH Keys have been setup correctly between your machine and github.
- $ ssh -T git@github.com
- Hi pathikpaul! You’ve successfully authenticated, but GitHub does not provide shell access.
- $
If this does not work you will need to investigate into this further and resolve the issues encountered.
Copy the project from GITHUB to the local machine.
- mkdir /home/u_jenkins/TESTING
- cd /home/u_jenkins/TESTING
- $ git clone git@github.com:pathikpaul/learngit.git
- Initialized empty Git repository in /home/u_jenkins/TESTING/learngit/.git/
- remote: Counting objects: 3, done.
- remote: Total 3 (delta 0), reused 0 (delta 0), pack-reused 3
- Receiving objects: 100% (3/3), done.
- $
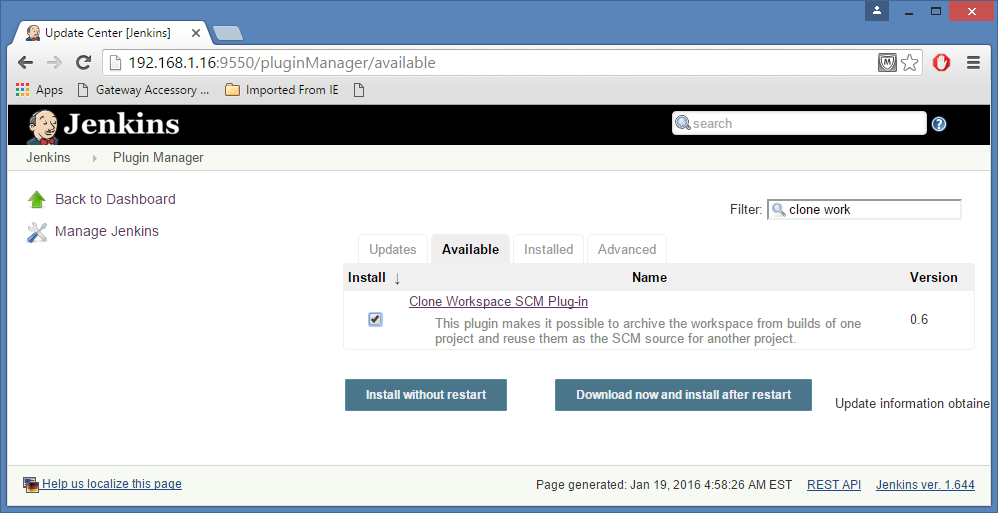
Install the Necessary GIT Plugins
Author: Pathik Paul